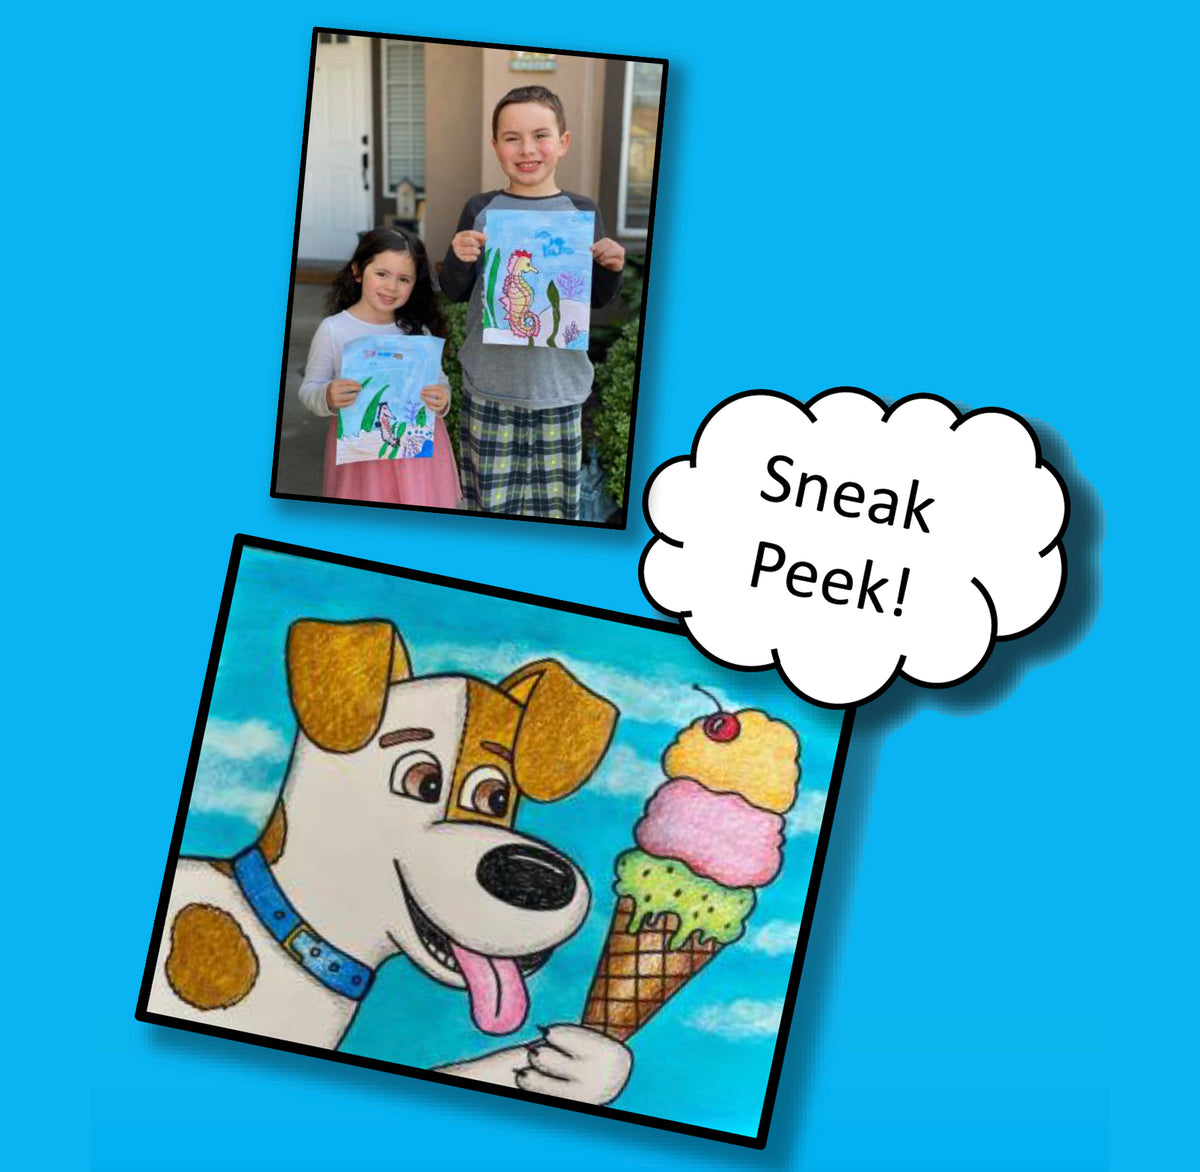
Hooray!
After School Art is back with all new projects and all supplies are included! Students will have fun drawing, painting, collaging and more! This program is offered all year long at participating schools. We currently service schools in the Riverside County area of Southern CA. Check the registration form to see when we are at your child's school.
We also offer virtual classes via Zoom every Wednesday. Projects are the same as our in person classes.

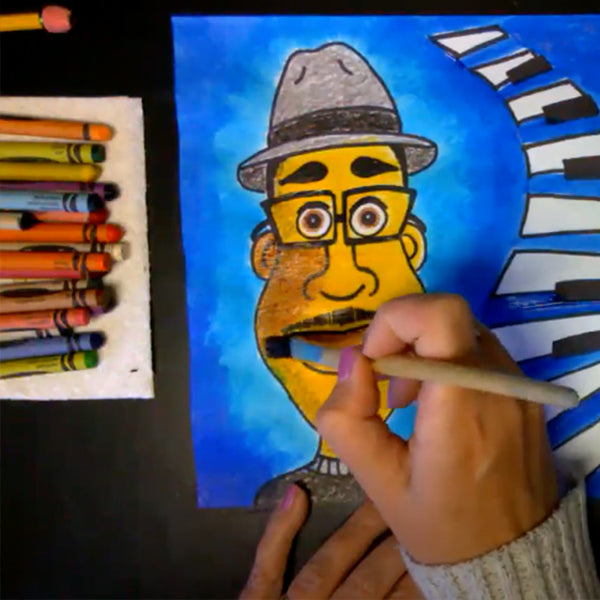
Video Art Lessons
Purchase pre-recorded art classes for your children! Browse and select from a variety of pre-recorded art lessons. Fun for family night! New lessons are added regularly.

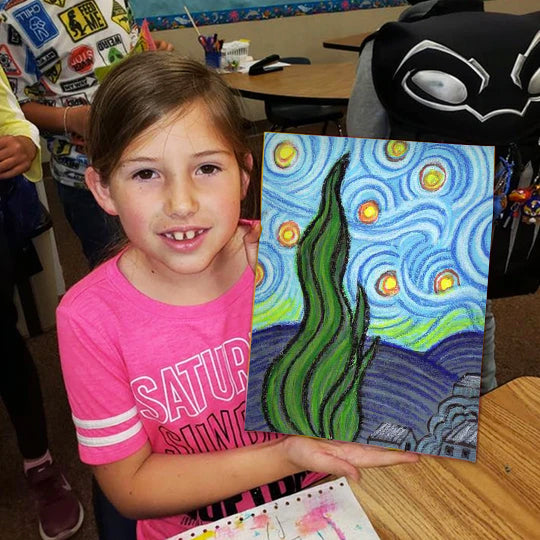
Classroom Art Lessons (In-person or Zoom)
Teachers, PTA's/PTO's, School Sites can purchase and book lessons for their students. Contact us at: artstarslessons@gmail.com
Parents can purchase and donate a lesson for their child’s class. Click HERE to sponsor your child's class.

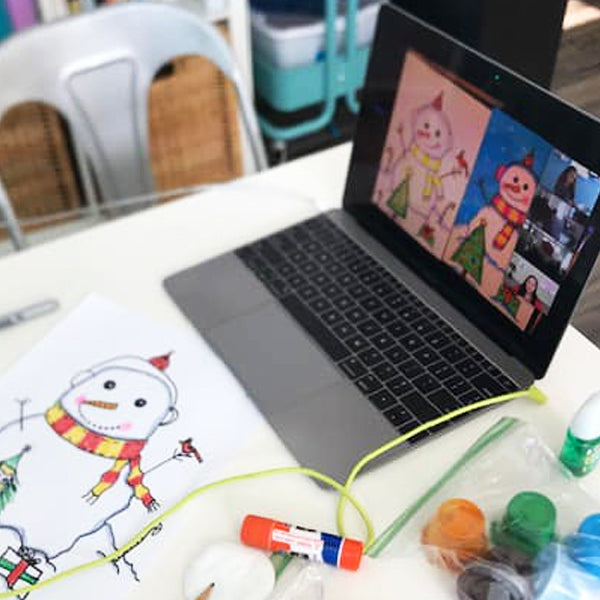
After School Art Lessons via Zoom
Can't join us in person for after school art classes? Enjoy LIVE art lessons from home! Register for our weekly after school enrichment program HERE. Be sure to select the virtual option on the registration form.
Contact our office for more information: ArtStarsLessons@gmail.com
Video Art Lessons
Enjoy the fun and convenience of guided art instruction at home!
Videos are intended for the family viewing by the purchasing party and not for classroom use.
-
Aurora Borealis Polar Bear
![]()

- Regular price
- $10.00
- Sale price
- $10.00
- Regular price
-
- Unit price
- per
Sold out